

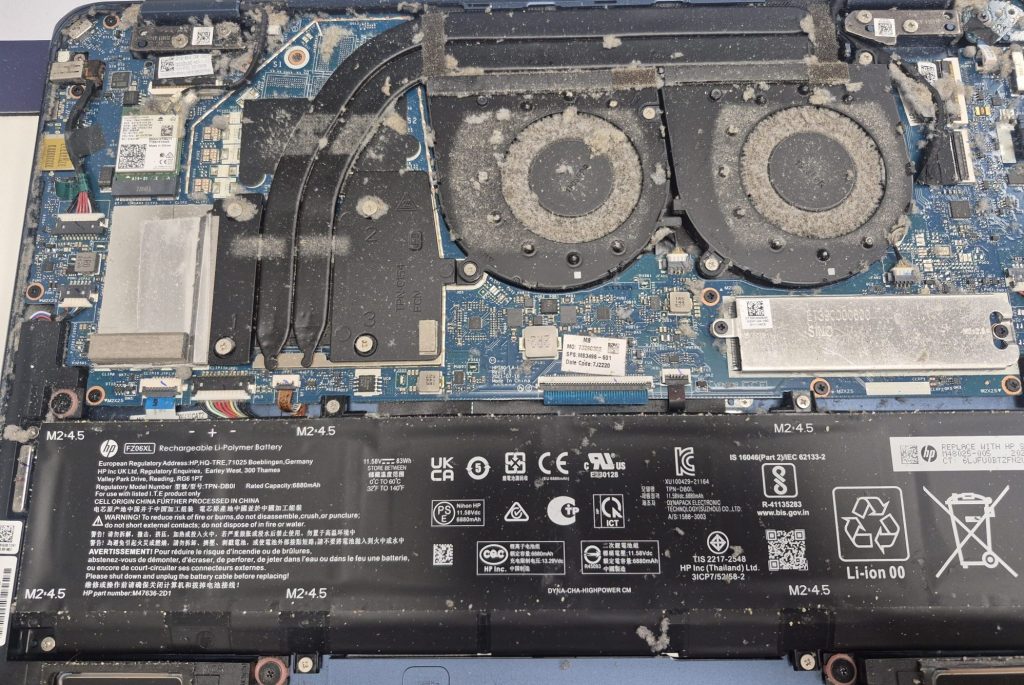
A few days ago, an HP Spectre x360 came into the shop with a problem: no power and no charging. The customer told us the laptop had been working perfectly fine. After they shut it down, it simply wouldn’t turn back on, and plugging in the charger changed nothing.
A laptop with no power and no charge is one of the trickiest problems to diagnose, because it can mean anything from a bad charger to a failed motherboard. In this repair log, I’ll walk you through exactly what I tested, what I found, how I fixed it, and what I’d do differently. That way you know what goes into a motherboard-level repair before you decide whether one is right for your laptop.
Is a Motherboard Repair Worth It?
Whenever a problem points to the motherboard, I explain what the repair involves and let the customer decide whether it’s worth pursuing. Cost is a big part of that decision. If someone brings in a budget laptop or a Chromebook, I’ll tell them nine times out of ten that a motherboard repair isn’t worth the labor compared with the price of a replacement.
On a premium machine like the Spectre x360, the math is different. Buying a new laptop of this caliber costs a lot more, so there’s a stronger case for repairing the board. Since the customer’s laptop had been working fine right up until it died, this looked like a good candidate.
Step 1: Checking the Symptoms and the Power Input
When we plugged in the charger, no LED lit up to show the laptop was accepting a charge, and pressing the power button did absolutely nothing. This laptop also supports USB-C charging, so I connected a USB-C charger through my multimeter. It showed 5V at only about 0.03A (30 milliamps). A USB-C charger starts at 5V and only ramps up once the laptop asks for more, so a tiny trickle at 5V told me the laptop wasn’t drawing the power it needed to start up.
There was one more clue during this test: a very noticeable whining noise coming from the laptop near the USB-A port whenever the USB-C charger was plugged in. Hold on to that detail, because it turned out to matter. Together, these symptoms suggested an internal short somewhere on the motherboard.
Before going further, I wanted to rule out the charger itself. I tested the laptop’s barrel charger and confirmed that the main power rail on the board was receiving the expected 19.5V. So the charger and the incoming power were fine, and the problem was deeper inside the board.
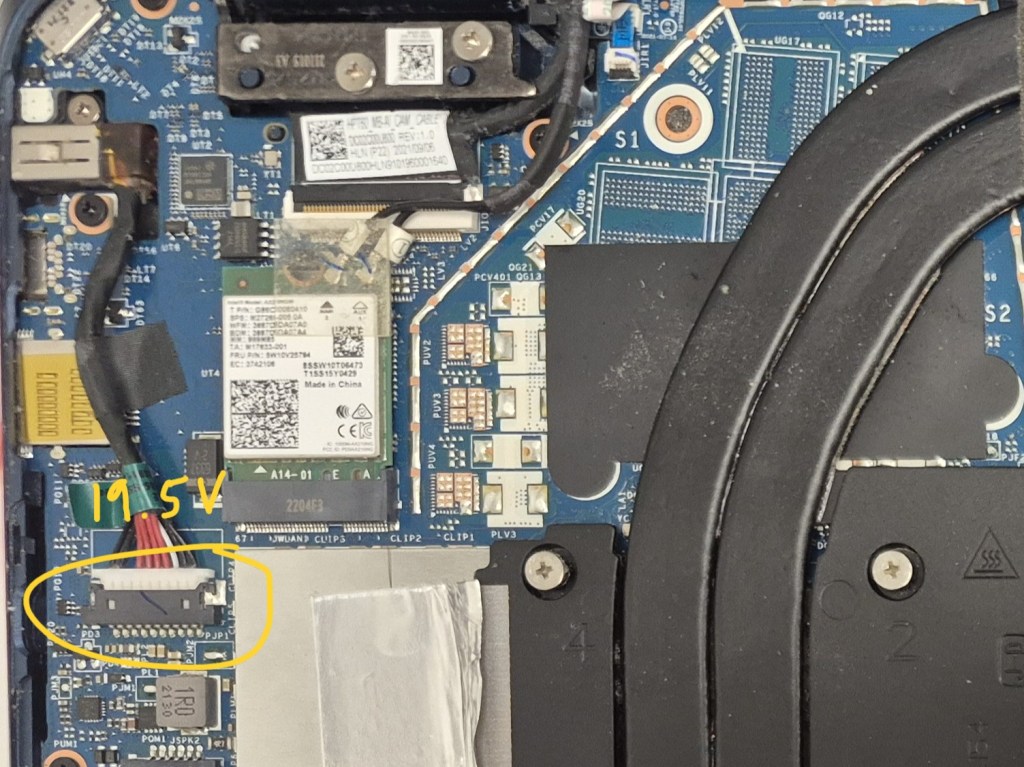
Step 2: Tracing the Missing 1.8V Rail
Next, I checked the laptop’s 5V, 3.3V, and 1.8V power rails to see which ones were active. The 5V and 3.3V rails were present, but the 1.8V rail was missing entirely. That told me where to start looking.
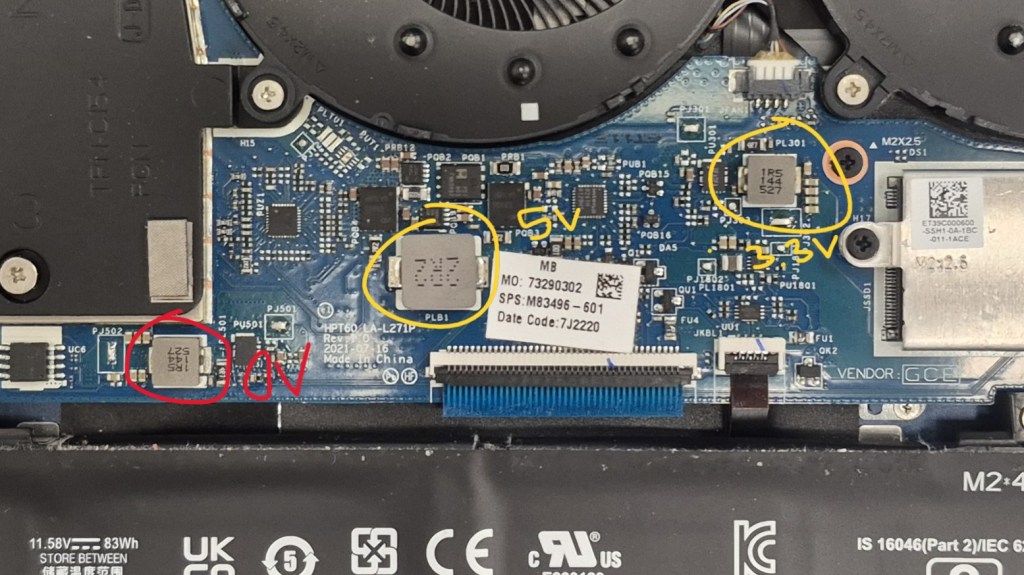
There was one complication: no schematic was available for this model. Without one, I had to rely on patterns I’ve seen on other HP and Windows-based laptops. These machines usually follow a similar layout for their 5V, 3.3V, and 1.8V circuits, but there are exceptions, so this part of the job takes experience and some educated judgment.
When I measured the 1.8V rail, it was completely shorted to ground. The components further downstream showed no shorts, which suggested the problem wasn’t with whatever the rail powers. However, the components around the rail’s inductor showed a dead short on both its input and output sides. That’s expected, since an inductor is essentially a straight wire to a multimeter, so it doesn’t tell you which side the fault is on. Because everything downstream checked out clean, I followed the input side. The trail led straight to the area where I had heard the whining noise.
Step 3: Finding the Shorted Capacitors
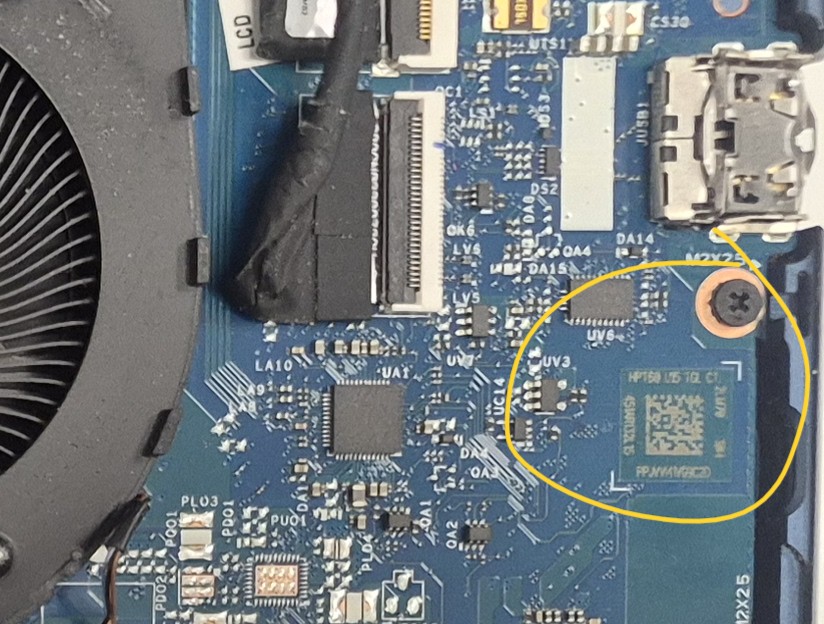
At that spot, I pulled out the thermal camera and plugged in the USB-C charger again. Two capacitors lit up as hot spots, and the whining noise was present at the same time. I then measured both capacitors with the multimeter, and sure enough, both read as a dead short.
They were the first suspects, so I removed them and checked again. With both capacitors off the board, the short was completely gone. That was good news, because it meant the fault was limited to two small, replaceable components rather than something larger.
The Repair (and a Note on Doing It the Right Way)
I took two capacitors of similar size and value from a good donor board and soldered them into the empty spots. I want to be upfront: this isn’t the textbook way to do it. With no schematic available, I couldn’t verify the exact values the manufacturer intended, so I matched what I could based on size and the typical design of these circuits.
I also could have left the spots empty. These capacitors mainly smooth out and stabilize voltage, so the laptop would likely have run without them. But leaving them off can cause instability or electrical noise, so I chose to put a suitable replacement back. Once they were in place, I rechecked the inductor and the short was no longer present, as expected.
So in this case, two capacitors near the USB port were shorting the 1.8V rail, which kept the system from charging and powering on. This is a typical way for a motherboard short to show up.
What Caused the Capacitors to Fail?
The natural question is why those capacitors shorted in the first place. Finding the definitive answer could take days of testing, which isn’t practical in a repair shop, so I can only offer an educated guess.
Capacitors like these are usually multilayer ceramic types, and their most common failure is a short circuit. The documented causes include physical stress or flexing of the board, sudden temperature changes, moisture, and manufacturing defects. Heat is also a factor that can speed up wear on components, though it isn’t the only possible cause.
In this laptop, heat is a reasonable suspect. The fans were covered in dust and the heatsink was completely clogged, so the laptop likely ran hot for a long time. I can’t say for certain that this caused the failure, and other causes are possible. But given what the customer described, a laptop that worked fine until it suddenly didn’t, a long-term heat buildup is my best guess.
One bit of good luck on the diagnostic side: this was a fairly direct fault. Normally I would use our bench power supply to inject voltage into the shorted rail and find the faulty component that way. Here, simply plugging in a charger and looking through the thermal camera was enough to show the hot spots.
Why Regular Laptop Maintenance Matters
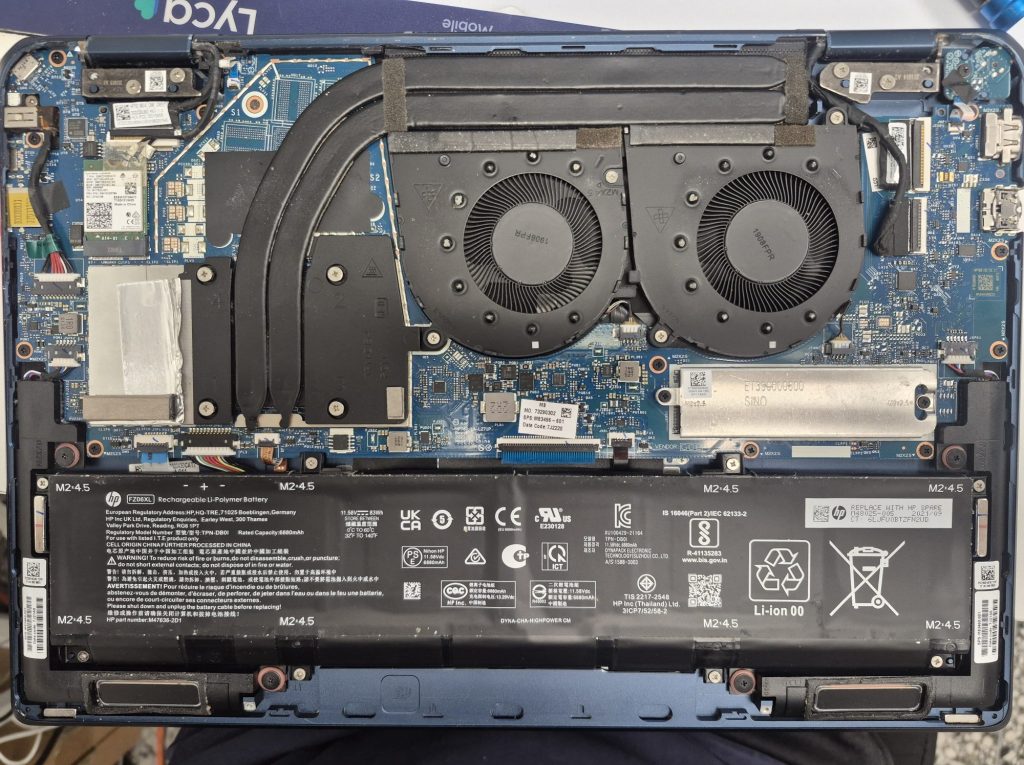
The customer was fortunate. The damage was limited to two small parts, and the repair was straightforward. If the short had involved a larger component, such as a power controller chip, the repair would have been more complicated and might not have been worth the cost.
That’s why I always stress getting your laptop cleaned and maintained every couple of years. If you have pets, a dusty home, or use your laptop on soft surfaces like beds and couches, do it more often. When dust blocks airflow, heat can’t escape, and that extra heat puts stress on everything inside the machine.
After the repair, I gave the laptop a thorough cleaning with compressed air, applied fresh thermal paste, and reassembled it. The laptop powered on with no issues, and charging worked normally.
What to Try Before Bringing In a Laptop That Won’t Turn On
Not every dead laptop needs a motherboard repair. Before you bring yours in, these quick steps are worth a try:
- Try a different charger. If you have a known-good one that fits your laptop, test with it. If your laptop supports USB-C charging, try that port too.
- Check for any sign of life. Look for charging LEDs, listen for fan noise, and see whether the screen lights up even faintly.
- Do a hard reset. Unplug the charger and any accessories. If the battery is removable, take it out. Then hold the power button for about 15 seconds, plug the charger back in, and try turning the laptop on. HP recommends this step for no-power problems, and it doesn’t affect your saved data.
If none of these work, the problem is likely inside the laptop, such as a power port, battery, or motherboard issue, and it’s time to have it looked at by a professional.
Final Thoughts
This repair is a good example of why a no-power, no-charge laptop isn’t always a lost cause. With careful testing, the right tools, and a bit of experience, a problem that looks catastrophic can come down to a couple of tiny components. It also shows why honest communication matters: I’ll always tell you what’s wrong, what the repair involves, and whether it’s worth the cost.
If your laptop has stopped powering on or charging, feel free to stop by our shop located in Downtown, Los Angeles or give us a call. We’ll gladly take a look at your system and discuss what the best course of action would be.
