
Most troubleshooting guides for audio problems read like a checklist someone copied off a Microsoft support page. Mute button checked? Volume turned up? Driver updated? Great — if none of that worked, good luck.
This one’s different. I’m going to walk you through how I actually approach a computer that has no sound, crackling audio, or a speaker that isn’t being detected. The goal isn’t to throw steps at you — it’s to help you understand what’s likely happening so you can either fix it yourself or know exactly what to tell a repair shop.
First, What Kind of Audio Problem Are You Dealing With?
Before touching anything, it’s worth narrowing down whether this is a software issue or a hardware issue. That one distinction changes everything about how you approach it.
Software-related audio problems tend to look like:
- Sound stopped working after a Windows update
- Audio device disappears from Device Manager
- Sound cuts out randomly or only in certain apps
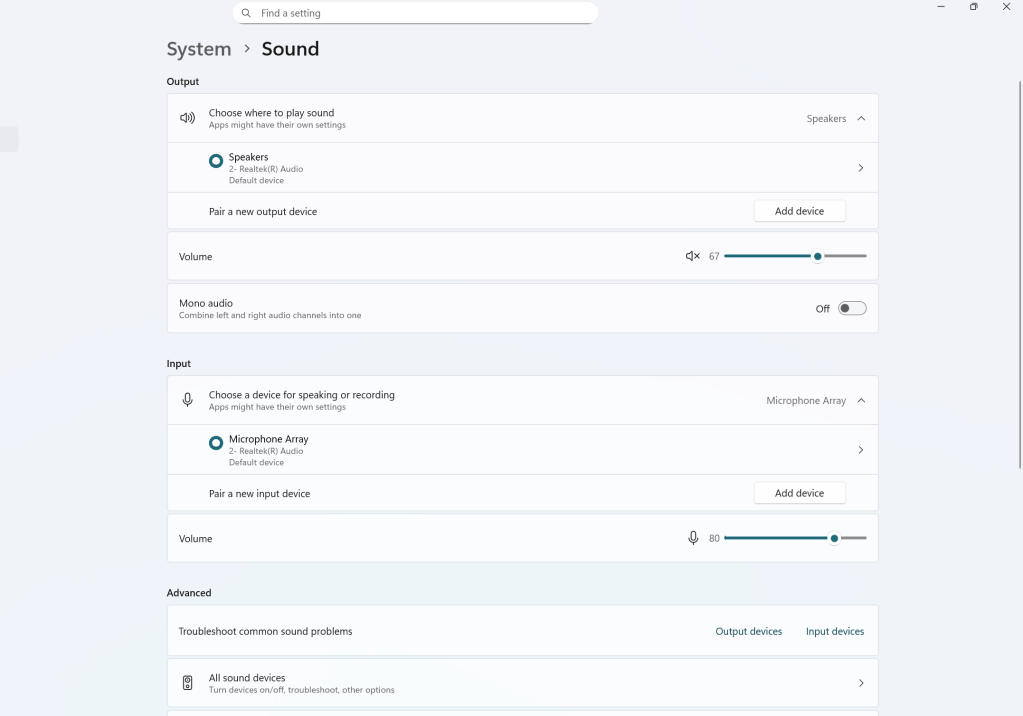
- You get a “No audio output device installed” error
Hardware-related audio problems tend to look like:
- Crackling, popping, or distortion that gets worse at higher volume
- Sound only comes from one side (left or right channel dead)
- No sound at all even after a Windows reinstall
- Speakers not detected even though they’re physically plugged in
That distinction matters because the fixes are completely different. Chasing a driver update when your speaker cone is physically torn is a waste of time — and vice versa.
Step 1: Start With the Audio Driver
If this is a software problem, reinstalling the audio driver resolves it the majority of the time. The driver is what lets Windows “talk” to your audio hardware. When it gets corrupted — which happens after bad updates, failed installations, or even just normal Windows weirdness — the system loses that communication entirely.
How to do it: Go to Device Manager, expand “Sound, video and game controllers,” right-click your audio device, and choose “Uninstall device.” Restart your PC. Windows will usually pull a fresh copy of the driver automatically on reboot.
One caveat: if you’re on an older machine or a discontinued model, the correct driver might not be available anymore. The manufacturer’s site may have pulled it, and Windows Update may not have a compatible version. If that’s where you land, move to Step 2.
Step 2: Reinstall Windows (It’s More Effective Than It Sounds)
I know this sounds like overkill, but hear me out. A fresh Windows installation does two things the driver reinstall can’t:
- It lets Windows Update pull the correct audio drivers fresh — even for older hardware
- It wipes out any corrupted system files, conflicting background processes, or broken audio services that were causing the issue
I’ve personally seen plenty of machines where the audio broke after a Windows update and nothing short of a reinstall fixed it. The audio service itself gets stuck, or something in the update process corrupts a system dependency. A clean install eliminates all of that.
If audio is still dead after a clean Windows install, you’ve just ruled out software entirely. That means you’re looking at hardware.
Step 3 (Laptops Only): Replace the Speakers
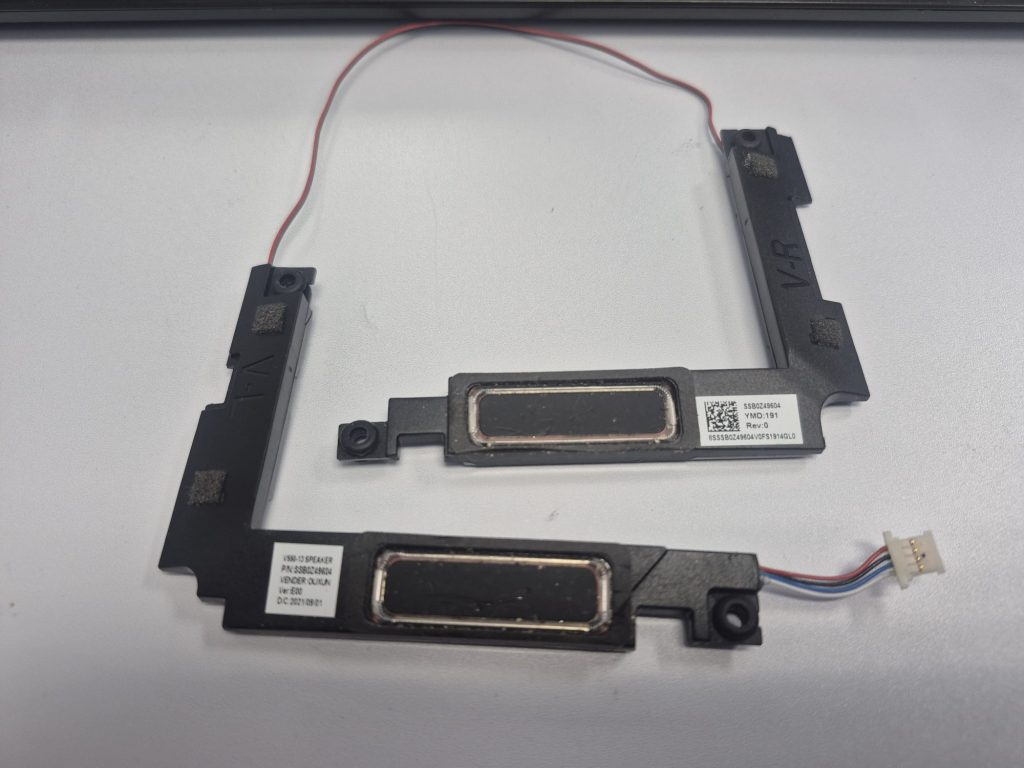
Laptop speakers fail more often than people expect, and they usually don’t fail all at once. The early warning signs are pretty recognizable once you know what to listen for:
- Crackling or popping during playback, especially at higher volumes
- Audio that sounds fine at low volume but distorts when you turn it up
- One channel working, the other silent
- Sound that cuts in and out intermittently
These are signs of physical speaker degradation — the kind that no driver update will fix. The good news is that replacing laptop speakers is usually inexpensive and straightforward on most models. It’s not always a simple pop-and-snap replacement, but it’s far cheaper than what comes next.
The Worst Case: Your Onboard Audio Chip Has Failed
Now for the scenario nobody wants to hear about.
Most computers have an audio controller chip built directly into the motherboard. It’s not a removable card — it’s soldered onto the board itself. When that chip goes bad, the symptoms look exactly like a software problem at first: no sound, device not detected, “No audio output device installed.” But no amount of driver reinstalling or Windows reinstalling will fix it, because the hardware itself is gone.
How do you know it’s the chip and not software? If you’ve already done a clean Windows install and the audio device still doesn’t show up in Device Manager, that’s a strong indicator.
The honest answer about repairs: some shops offer chip-level micro-soldering, but it requires specialized equipment, takes significant time, and often costs more than the machine is worth. For most people, it’s not a realistic path.
The Practical Fix When the Audio Chip Fails: External Sound Cards
Here’s the solution I actually recommend when someone comes in with a failed onboard audio chip and doesn’t want to replace the whole motherboard: an external sound card.
It bypasses the dead chip entirely and becomes the new audio system for your computer. There are two versions:
For desktops
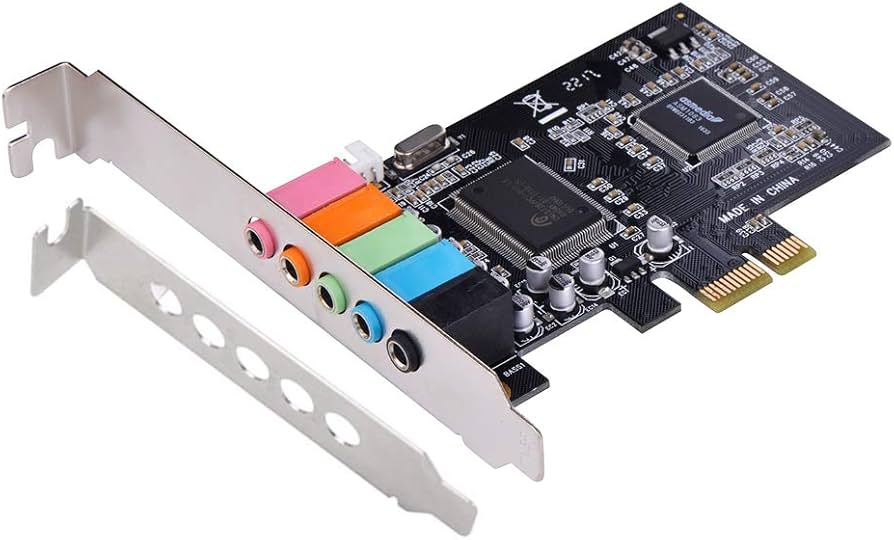
A PCIe sound card that installs internally. It’s clean, it stays inside the tower, and it doesn’t use any external ports. Most are plug-and-play, and even budget options from reputable brands sound perfectly fine for everyday use.
For laptops
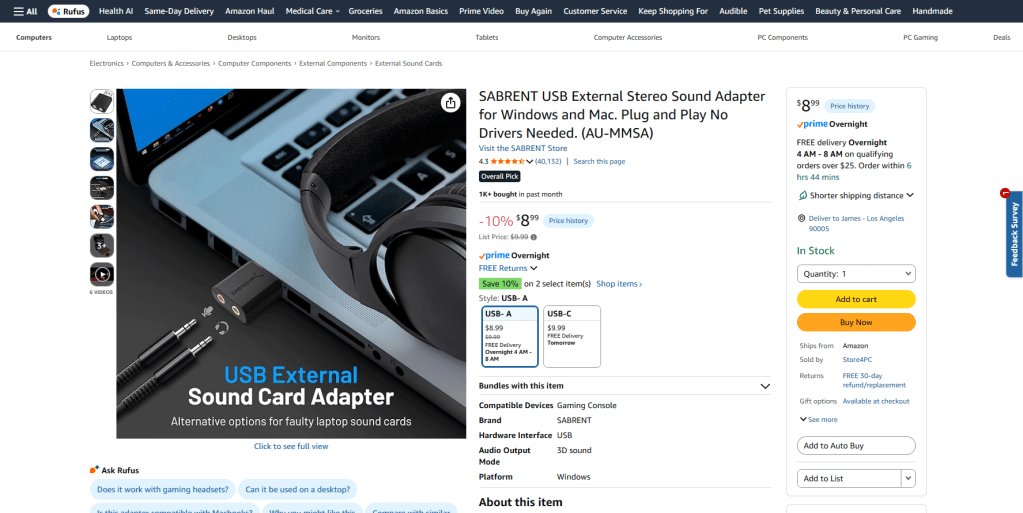
A USB sound card. These are tiny — about the size of a thumb drive — and usually cost less than $15. Plug it in, and Windows recognizes it instantly without any driver installation. The tradeoff is that one USB port is permanently occupied, and you have to carry it with you if you want audio away from your desk.
It’s not the most elegant solution, but it’s practical, affordable, and it works.
Quick Recap: How to Approach a Computer Audio Problem
If you’re trying to figure out what to do first, here’s the short version:
- Crackling, distortion, or one dead channel on a laptop → likely a speaker hardware issue. Consider replacement.
- No sound or device not detected → start with a driver reinstall. If that fails, try a Windows reinstall.
- Still no audio after a clean Windows install → the onboard audio chip may have failed. An external sound card is the most cost-effective workaround.
- Driver not available for your model → skip straight to Windows reinstall; Windows Update will find the right driver.
When to Bring It In
If you’ve worked through the software steps and still have no sound, give us a call or stop by our shop in Downtown, Los Angeles. Diagnosing a potential audio chip failure correctly — and distinguishing it from a software problem — requires hands-on testing. It’s also the point where the repair options get more nuanced, and you deserve a straight answer about what’s worth fixing and what isn’t.
