
This is a real repair log from our shop. A client brought in a MacBook Air A2179 (EMC 3302) that had been completely dead for some time — no power, no response, nothing. After opening it up, we found the culprit: liquid damage to the daughter board. Here’s exactly what we found, what we did, and what we recommended.
If your MacBook Air won’t turn on and you’re wondering whether it’s worth repairing, this walkthrough might help you set realistic expectations.
Repair Snapshot
| Device | MacBook Air A2179 (EMC 3302) |
| Symptom | No power — completely unresponsive |
| Root Cause | Liquid damage / corrosion on daughter board & power button |
| Action Taken | Cleaned corrosion with 95% isopropyl alcohol |
| Outcome | Laptop powers on; power button intermittent |
| Recommendation | Use as-is or replace daughter board + power button |
1. What the Client Brought In
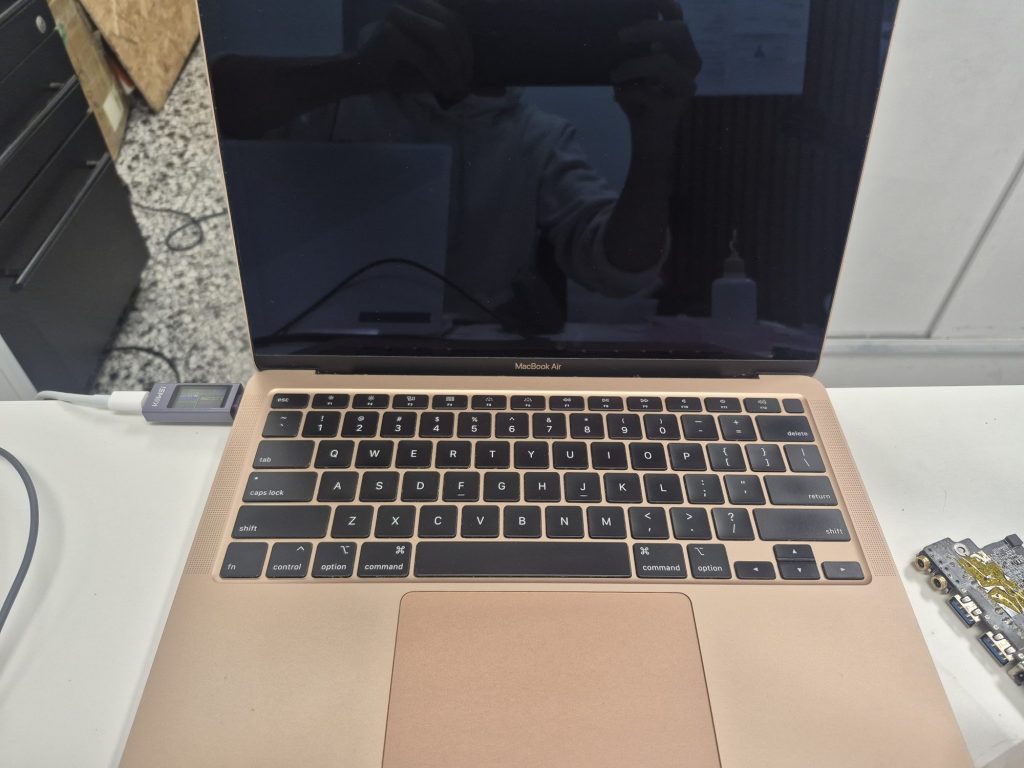
The MacBook Air belonged to the client’s wife and had been sitting in a non-working state for a while before they decided to bring it in. When they handed it over, pressing the power button did nothing. Plugging in the charger didn’t change anything either — no chime, no light, no fan spin.
At first glance it looked completely dead. But before assuming the worst, I connected a power meter to the charger to see what the machine was actually doing internally.
Key finding: The MacBook was drawing some voltage and amperage through the charger — meaning the system was trying to power on, it just couldn’t get there. That’s usually a good sign. It rules out a completely dead logic board and makes diagnosis worth pursuing.
2. Internal Inspection — Liquid Damage Found
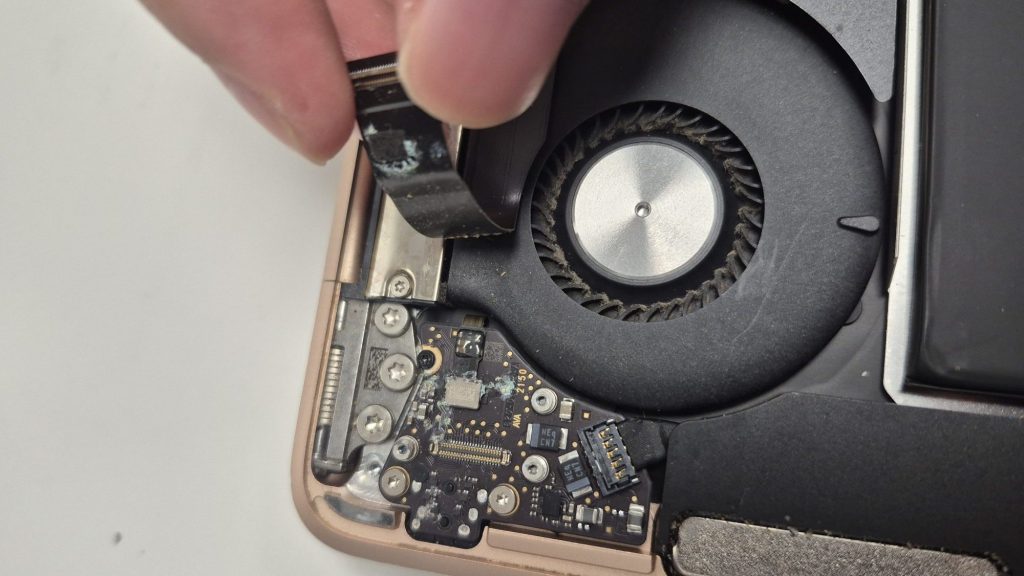
After opening the MacBook Air, the problem was immediately visible. The daughter board — the small internal board that handles the power button and audio jack — was heavily corroded.
Corrosion like this is almost always caused by liquid exposure. Based on the location and pattern, it looked like a spill near the power button area. This is actually one of the more common liquid damage scenarios we see, and it’s easy to overlook because the laptop often keeps working for a while after the spill.
Why Liquid Damage Doesn’t Always Show Up Right Away
This is worth explaining because a lot of clients are confused by it. Where the liquid ends up inside the laptop makes a huge difference:
- Liquid on the keyboard or main logic board — tends to cause immediate failure or shutdown
- Liquid on smaller boards or connectors — can cause slow corrosion that takes weeks or months to fully manifest
In this case, the laptop likely kept working after the spill, which is why it wasn’t flagged immediately. By the time it stopped turning on entirely, the corrosion had already done its damage.
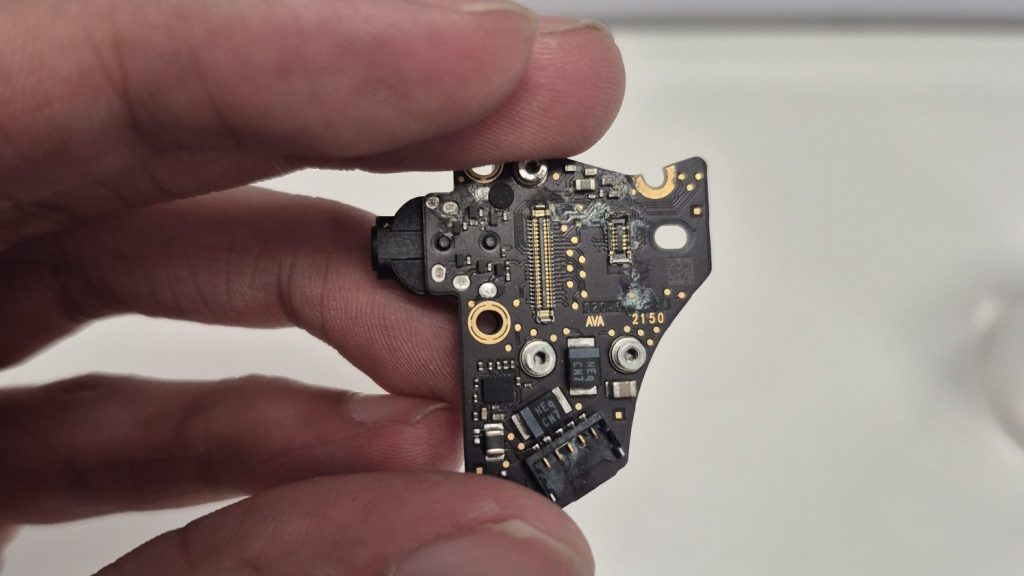
3. Cleaning the Corrosion
With the daughter board confirmed as the problem area, I cleaned it using 95% isopropyl alcohol and a soft toothbrush. This is the standard approach for corrosion removal — high-concentration IPA evaporates quickly and doesn’t leave residue.
Important note on technique: Corrosion can weaken solder joints and circuit traces underneath. Scrubbing too aggressively can actually dislodge components that are barely holding on. I made multiple gentle passes on both sides of the board rather than using heavy pressure.
I also cleaned the power button itself. Given how corroded everything was, I wasn’t optimistic — but it’s always worth testing before recommending parts.
4. Logic Board Check
Before reassembly, I inspected the main logic board for any signs of liquid exposure or secondary damage.
Good news here: The main logic board looked clean. No visible corrosion, no moisture residue. This matters a lot when it comes to repair viability. Logic board damage — especially to the power rails or charging circuit — can make a repair economically impractical. A clean logic board in an otherwise damaged machine is a much better starting point.
5. Reassembly & Power Test
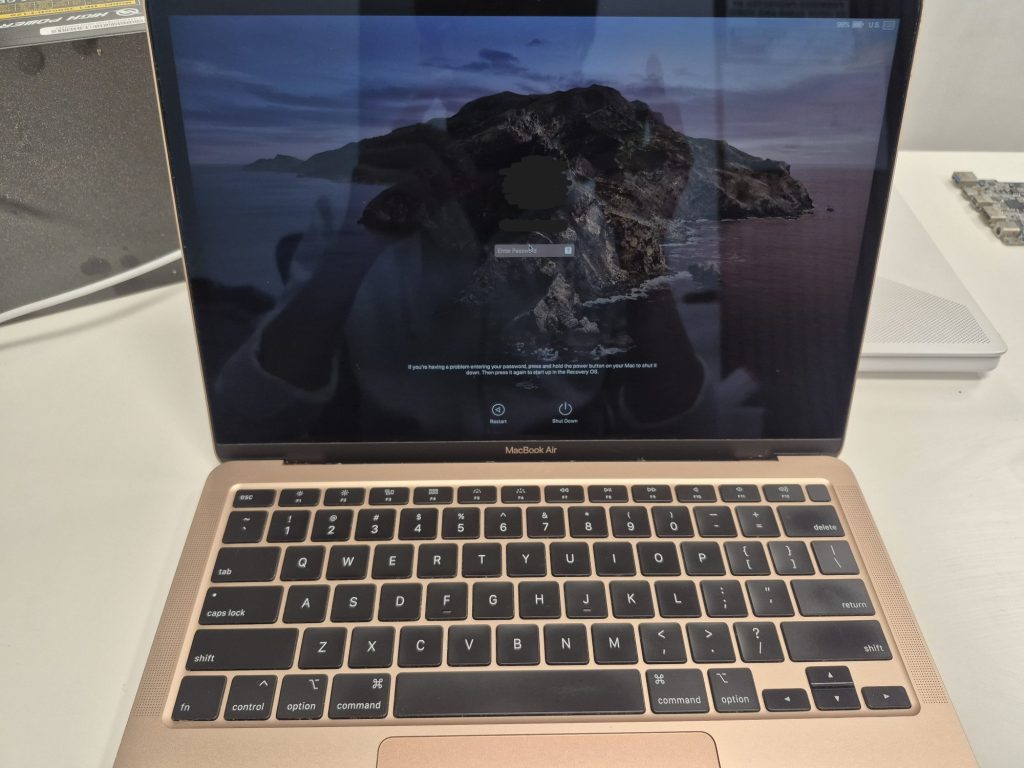
After cleaning and inspection, I reassembled the MacBook Air and tested it.
It powered on. That was genuinely a better outcome than I expected given the level of corrosion.
However, liquid-damaged machines often have follow-on issues even when they initially come back to life, and this one was no exception. The power button was intermittent — sometimes it responded, sometimes it didn’t. Everything else — keyboard, trackpad, speakers, Wi-Fi — tested fine.
6. Final Outcome & Recommendation
| ✅ Outcome MacBook Air powers on. Core functions (keyboard, trackpad, speakers, Wi-Fi) all working. Power button intermittent. |
The repair achieved its main goal: getting the laptop back from a completely dead state so that the client can back up their data. However the power button was still having intermittent issues where it would power on or not.
My recommendation was to use the MacBook Air as-is for now. For most users, putting the laptop to sleep instead of shutting it down is a workable solution when the power button is unreliable. It’s not ideal, but it’s functional.
If they want to fully resolve the issue, the right repair would be replacing both the power button and the daughter board, since both were heavily corroded. Given the laptop is about five years old and the client’s usage pattern, I didn’t push that repair — but it remains on the table if the current workaround becomes frustrating.
Key Takeaways from This Repair
- A power meter is an essential first step — “completely dead” doesn’t always mean completely dead
- Liquid damage can be delayed — especially when it reaches smaller boards rather than the logic board directly
- Gentle cleaning matters — aggressive scrubbing on corroded boards can cause more damage
- Logic board condition is the deciding factor — a clean main board dramatically improves repair viability
- Transparent recommendations matter — we’d rather give you the honest picture than sell you a repair that doesn’t make sense
Have a MacBook that won’t power on?
Swing on by our shop located in Downtown, Los Angeles or give us a call. We’ll gladly help you out and discuss possible repair options and decisions.
