
Most of the time, when a Chromebook comes into the shop with liquid damage, we usually tell customers straight up: it’s not worth fixing. Chromebooks are inexpensive, and a board-level repair can easily cost more than a replacement. But every rule has an exception, and this repair was one of them.
A customer brought in an Acer Chromebook that wouldn’t power on after a liquid spill a few weeks earlier. The device itself wasn’t valuable, but the content on it was, and that made all the difference in deciding to attempt the repair.
Why Time Matters With Liquid Damage
We’ve written before about liquid damage and why urgency is critical. Even when a laptop is powered off, the battery is still connected and holds voltage. That voltage keeps flowing through the motherboard until it is disconnected. If you ever spill liquid on a laptop, the single most important first step is disconnecting the battery immediately. Power off state doesn’t matter; the battery does.
In this case, three weeks had already passed since the spill. That doesn’t reduce the odds of a successful repair to zero, but it does reduce them significantly with every day that passes.
Initial Inspection: Corrosion Around the Display Connector
Upon opening up the laptop, the board didn’t look as bad as expected for a three-week-old spill. There was visible corrosion, but nothing catastrophic at first glance. That changed when I got to the display cable side of the board.
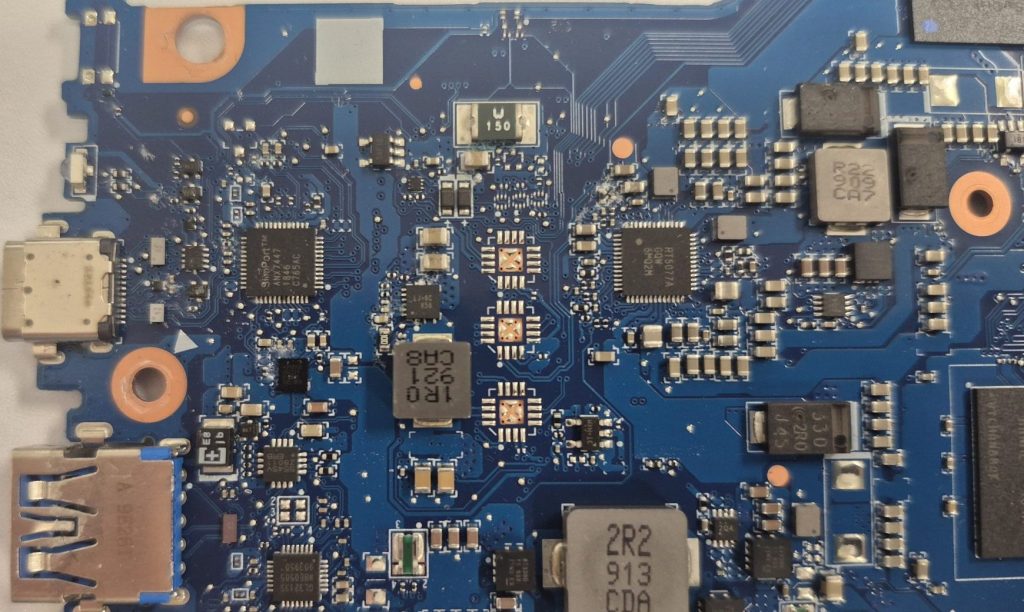
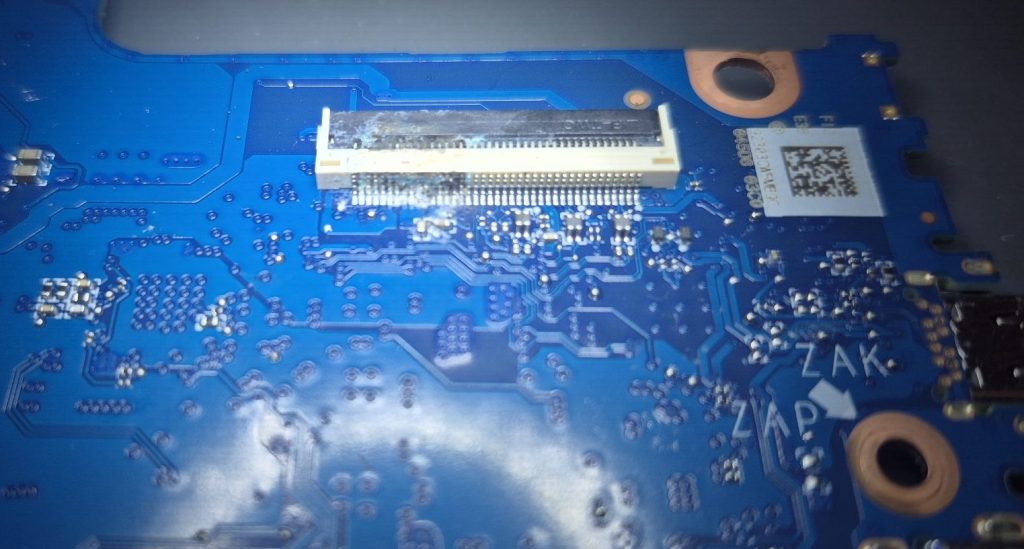
The display connector was heavily corroded and showed signs of burning in several spots. The display cable itself wasn’t in much better shape. At that point, I assumed the display was a lost cause. The good news was that the display wasn’t the main objective; getting the Chromebook to power on was. Worst case, the customer could always run it as a desktop with an external monitor.
Cleaning the Corrosion the Right Way
The process itself is simple in theory: 90% isopropyl alcohol and a soft-bristled toothbrush, applied with a light touch. If you ever attempt this at home, resist the urge to scrub hard. Heavy corrosion weakens solder joints, and aggressive brushing can pull small components right off the board.
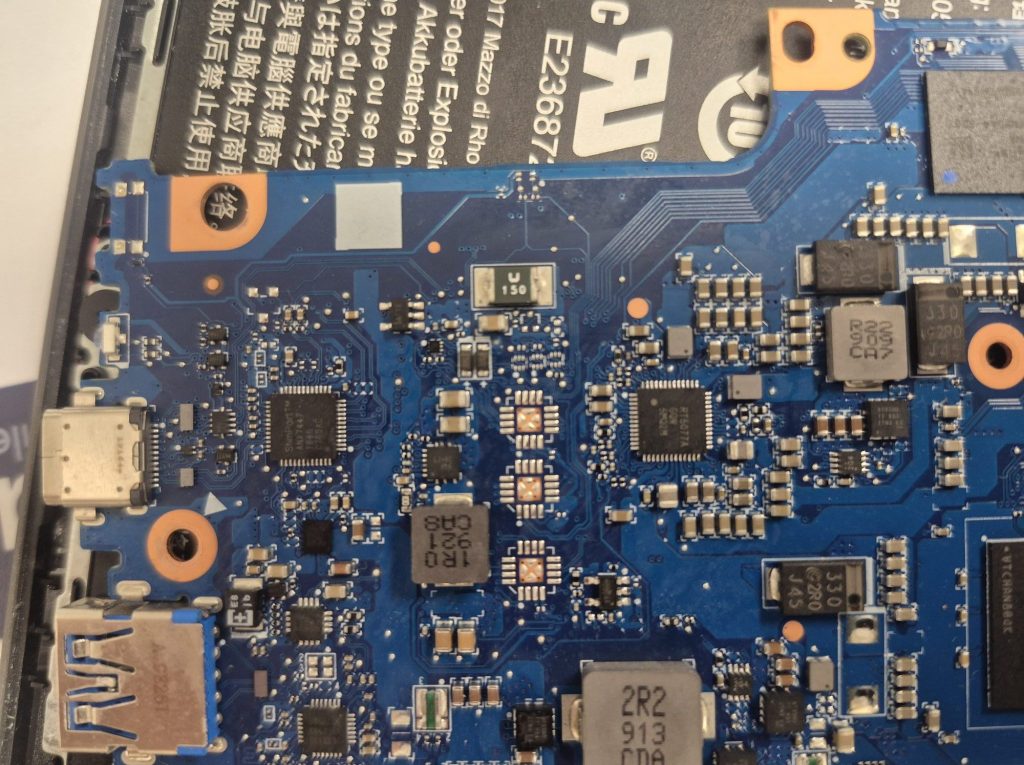
After some patient work, the corrosion on the left side of the board and the daughter board cleared up almost completely. The display connector and cable were a different story. Once the corrosion and burn marks were cleared away, the inner and outer pins on the connector still looked rough, and the traces on the display cable were completely burned away. At that point, I was fairly confident the display itself wasn’t going to work.
Getting the Chromebook to Power Back On
After the board dried for several hours, I reassembled the Chromebook and powered it on. The keyboard backlight came on, and I could hear audio, both good signs. As expected, the built-in display stayed dark. Connecting the Chromebook to an external monitor brought up the sign-in screen, confirming the motherboard itself was working again.
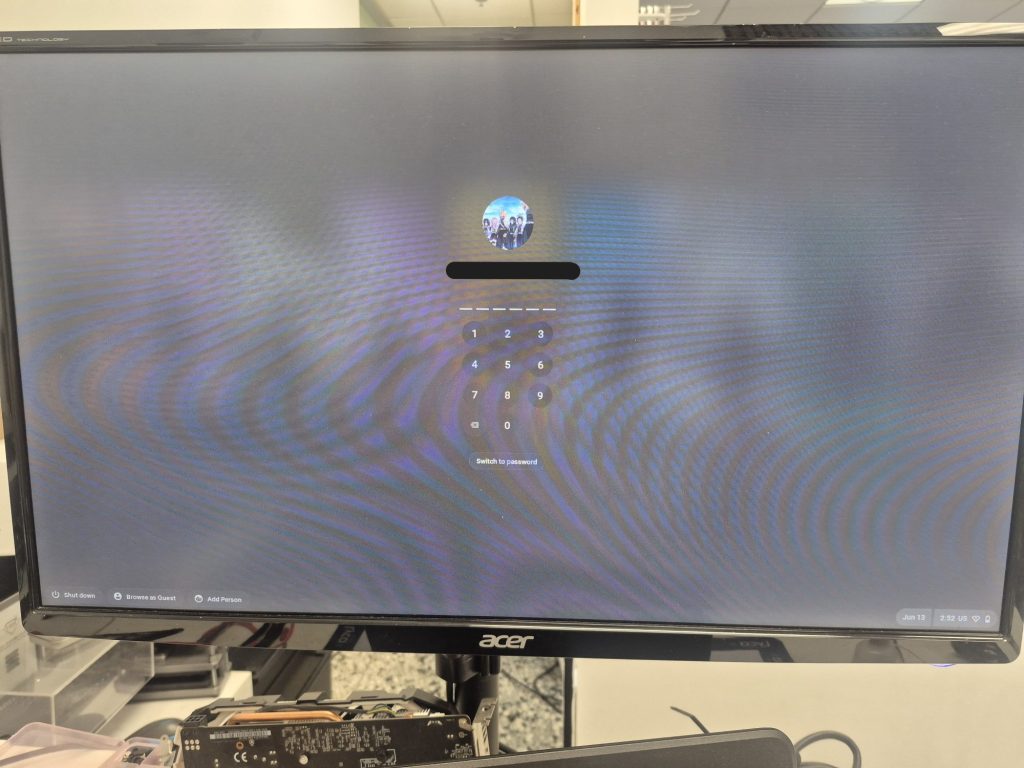
At this point, I let the customer know where things stood. They were relieved the Chromebook powered on, but a non-functional screen was still a real limitation for daily use. I told them we’d reached the point where further repair could cost as much as a replacement Chromebook, but they asked if there was anything else that could be done. I told them I’d take a closer look.
Diagnosing the Display: Cable or Connector?
Back at the display connector, I needed to figure out exactly what was preventing the screen from working. My suspicion was the display cable, but I couldn’t rule out damage to the connector itself given how bad the corrosion had been.
I checked the voltages near the connector, and everything measured normal. That didn’t guarantee the connector was good, but it was a promising sign. With the connector looking viable, the burned-out traces on the flex cable became the clear focus.
A First-Time Repair: Rebuilding Traces on a Flex Cable
I’ve rebuilt traces on motherboards plenty of times, but never on a flex cable, so this was new territory. I let the customer know what I was planning and told them that if I got the display working, there would be no extra charge for the attempt.
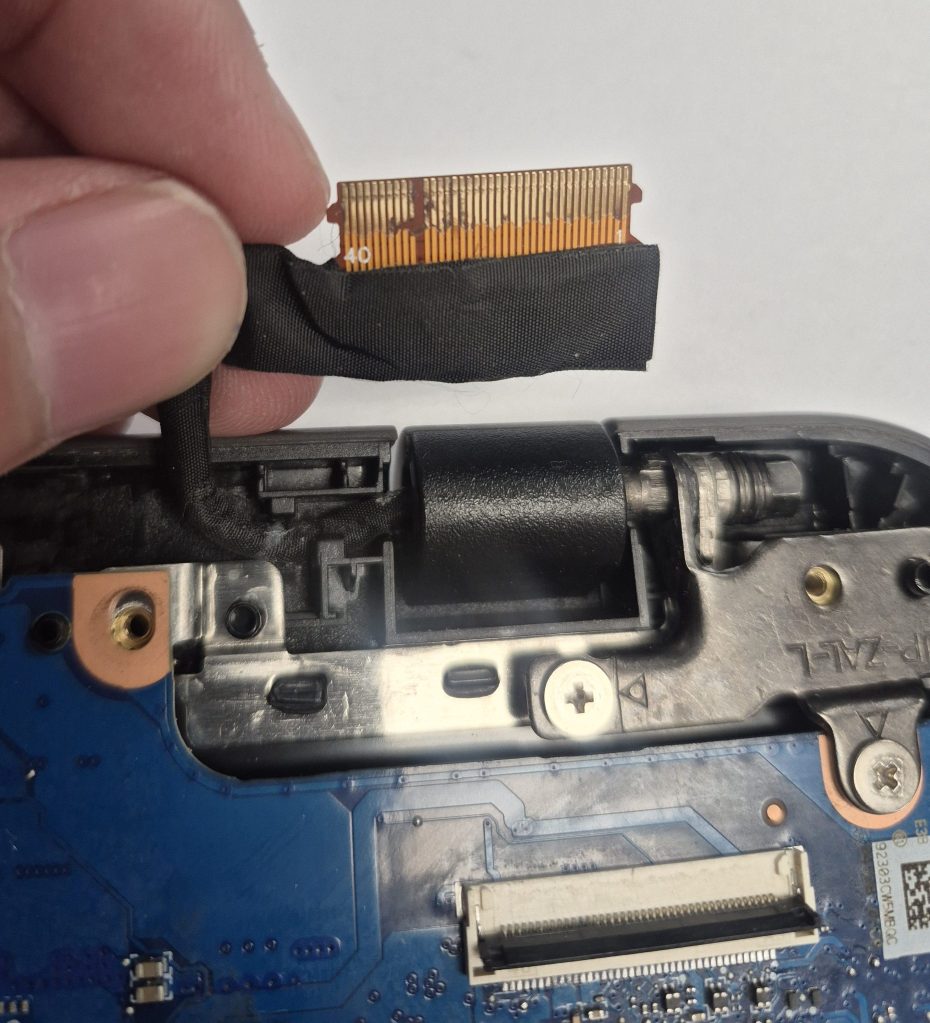
The biggest risk was heat. Motherboards can handle a fair amount of soldering heat, but flex cables are far more delicate, and prolonged exposure can melt them. Working carefully, I bridged the three damaged traces with copper wire, tacking each one onto its solder joint. I covered the repair with Kapton tape. Ideally, I would have used a UV-cured mask for a more durable, insulated finish, but I didn’t have any on hand at the time.
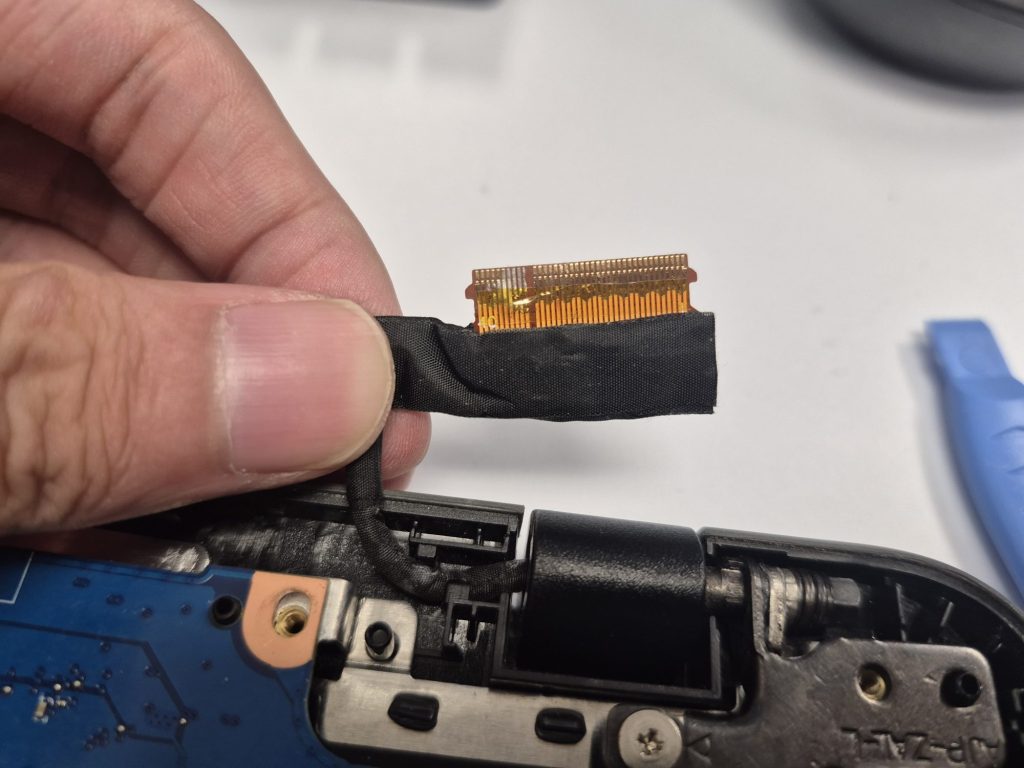
With the cable reconnected to the motherboard, I honestly wasn’t sure what to expect. I wasn’t 100% certain the connector had survived the corrosion, so I was giving it roughly 50/50 odds. When the Chromebook powered on and the display lit up without issue, it was as much a relief as it was a surprise.
The Result
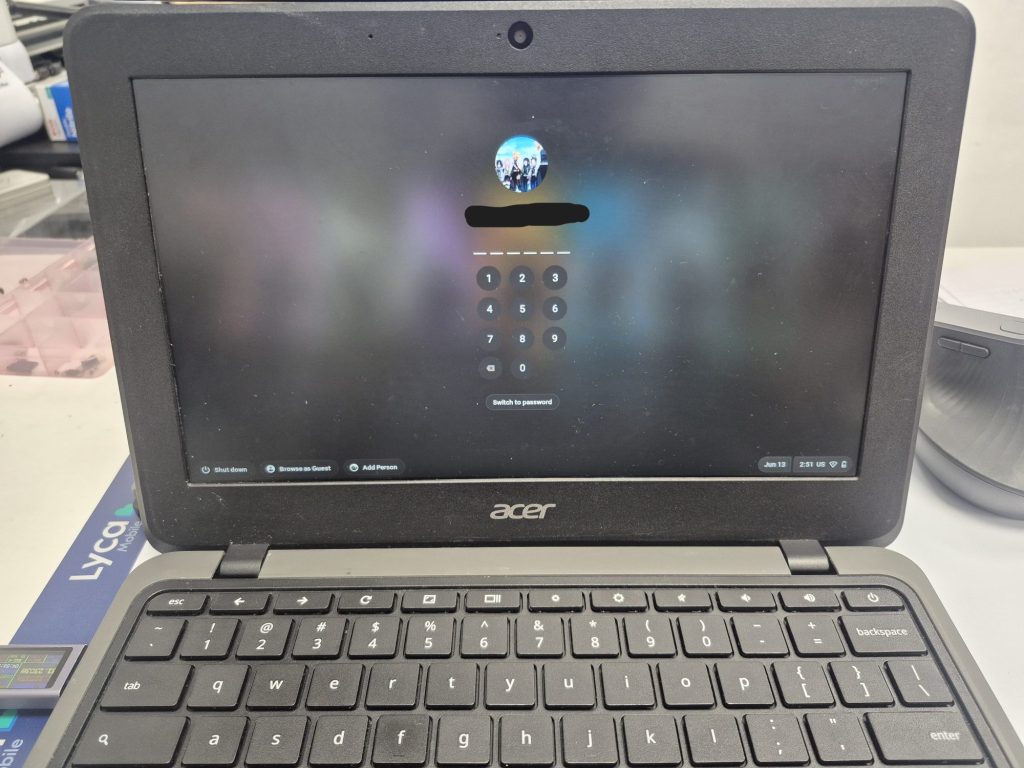
In the end, the customer got their Chromebook back fully functional: powered on, display working, and their data intact. Looking purely at billable hours versus what I charged, this repair wasn’t profitable. But being able to attempt a flex cable trace repair for the first time, and have it work, is the kind of experience that pays off on future jobs.
Would I recommend going this far on a Chromebook repair as a general rule? No. But when a device matters enough to a customer, it’s worth exploring what’s possible before writing it off.
Takeaways If You’re Dealing With Liquid Damage
• Disconnect the battery immediately, regardless of whether the device is powered on or off.
• Time matters. The longer liquid sits on a board, the more corrosion spreads and the lower your odds of recovery.
• Clean corrosion gently with isopropyl alcohol and a soft brush. Don’t force it.
• A dead display doesn’t always mean a dead motherboard. Diagnose each component separately before writing off the whole repair.
If your device has been exposed to liquid, don’t wait to see if it dries out on its own. Bring it in as soon as possible or take it to your closest repair shop. The sooner we can inspect and clean the board, the better your chances of a full recovery.

